
I’ve fried a lot of chicken in my time — enough to know that “crispy” isn’t an accident. It’s a system. Most people season a patty, dredge it once, and toss it in the pan wondering why it comes out soft and sad under the bun. The difference between that and a burger with a coating that actually shatters when you bite into it comes down to a handful of technical choices most recipes skip right past.
So let’s fix that. Whether you’re building a chicken patty from scratch or trying to rescue a bag of frozen ones from the freezer, here’s everything you need to know — and a recipe at the end that puts it all into practice.
Quick Takeaways
- Cornstarch beats flour for shatter-crisp texture, but a blend of both gives you crunch plus structure.
- A buttermilk brine is your best binder — it tenderizes the meat and helps the coating cling.
- Double-dredging (wet, dry, wet, dry) is the single biggest crisp-factor most home cooks skip.
- Resting the coated patty for 10–15 minutes before frying sets the crust so it doesn’t slide off in the oil.
- Even store-bought patties (Tyson and similar) can be crisped up dramatically with the right finishing technique.
What Actually Makes Chicken Crispy?
Here’s the thing nobody tells you: crispiness isn’t about the seasoning, it’s about moisture control. Every truly crispy fried food follows the same principle — pull moisture out of the surface, replace it with a starch layer, then hit it with high heat fast enough that the starch dehydrates and hardens before the inside overcooks.
That’s why a single coat of seasoned flour never quite gets there. It’s absorbing moisture from the meat as it fries, staying slightly gummy underneath. You need structure and crunch, which is why professional kitchens almost never use just one dredging agent.
Flour vs. Cornstarch: The Real Answer
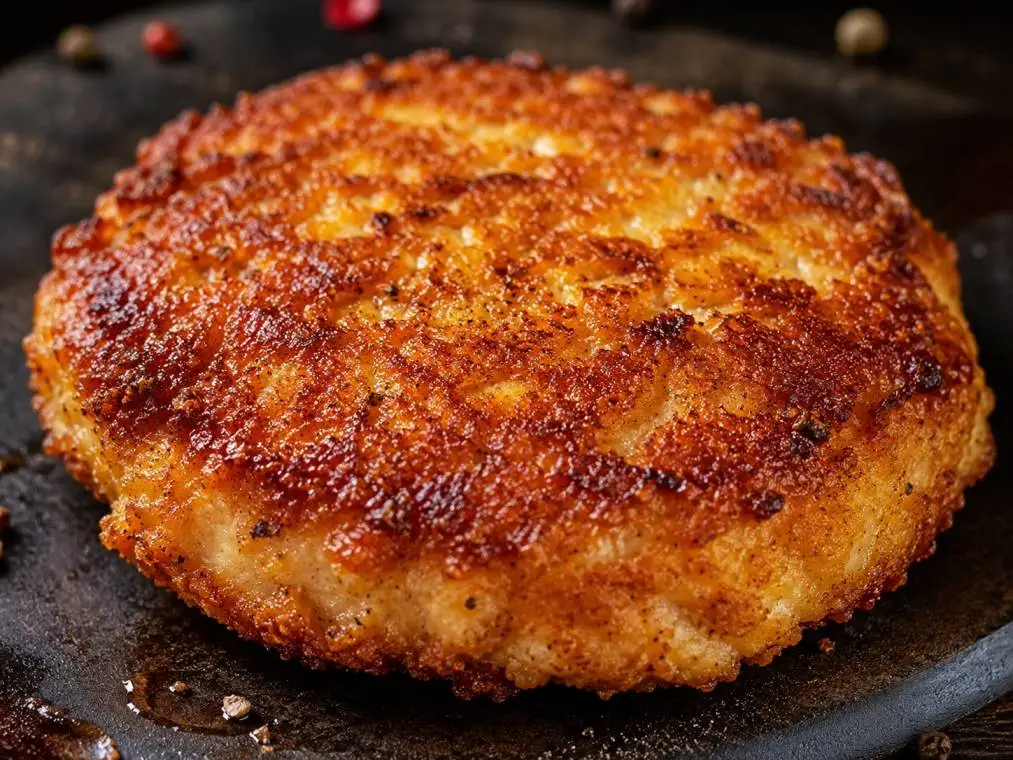
I get asked this constantly, and the honest answer is: use both. Flour alone browns nicely but can turn tough. Cornstarch alone crisps beautifully but doesn’t brown as deeply and can taste a little raw if you’re not careful with your oil temperature. A 2:1 ratio of flour to cornstarch gives you the best of both — deep color, real crunch, and a coating sturdy enough to survive a bun and toppings without going limp.
If you want to push it further, add a tablespoon of baking powder to your dry mix. It creates tiny air pockets in the crust as it fries, which is the same trick that makes Korean fried chicken so absurdly crunchy.
The Binder Matters More Than You Think
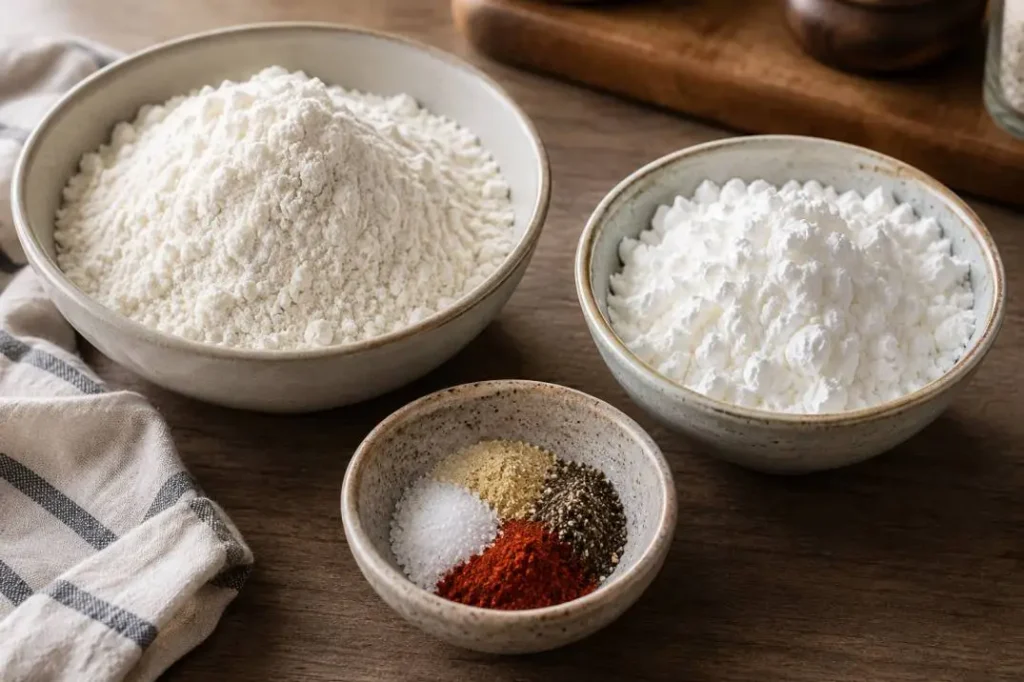
What’s the best binder for a chicken burger? Buttermilk, hands down. It’s mildly acidic, which tenderizes the chicken, and its slight thickness gives the dry coating something to grip onto — much better than a plain egg wash, which tends to slide around. If you don’t have buttermilk, mix regular milk with a splash of vinegar or lemon juice and let it sit five minutes.
Whisk a beaten egg into the buttermilk for extra cling, especially if you’re planning that double-dredge I mentioned earlier.
The Double-Dredge Technique (This Is the Real Secret)
If you take one thing from this whole guide, make it this: dredge your patty twice. Wet, then dry, then back into the wet mixture, then dry again. It feels excessive the first time you do it, but that second layer is what creates the thick, craggy, almost popcorn-chicken-style crust instead of a thin shell that flakes off in the pan.
After the second coat, don’t fry immediately. Set the patty on a wire rack and let it rest 10–15 minutes at room temperature. This lets the coating hydrate and bond to the surface, so it holds together in the oil instead of sloughing off in chunks — which is the number one reason home-fried chicken loses its crust.
What If You’re Starting From Frozen Patties?
Not everyone is grinding their own chicken on a Tuesday night, and that’s fine. If you’re working with frozen patties — Tyson or otherwise — skip the microwave entirely. Bake from frozen at 425°F on a wire rack set over a sheet pan (not directly on the pan, or the bottom steams instead of crisping) for about 20 minutes, then finish under the broiler for two to three minutes to recrisp the surface. That rack is doing a lot of quiet work: it lets hot air circulate underneath instead of trapping steam.
Flavor: What the Big Chains Actually Do
Ever wonder how fast food gets that consistent savory crunch? It’s rarely just salt and pepper. Most commercial coatings include a blend of paprika, garlic powder, onion powder, celery salt, and a touch of MSG or a flavor-enhancing seasoning blend for that umami depth. You don’t need anything exotic — replicate it at home with smoked paprika, garlic powder, onion powder, a pinch of cayenne, and a real hit of salt in both the buttermilk brine and the dry coating. Season at every layer, not just once at the end, or the inside of the patty ends up bland even when the crust is loaded.
Homemade Crispy Ground Chicken Patty Recipe
Makes 4 patties
For the patties:
1 lb ground chicken thigh (thigh meat stays juicier than breast)
1 clove garlic, minced
1 tsp salt
½ tsp black pepper
1 tsp smoked paprika
1 tbsp mayonnaise (keeps the patty from drying out)
For the brine:
½ cup buttermilk
1 egg
For the crust:
¾ cup all-purpose flour
¼ cup cornstarch
1 tbsp baking powder
1 tsp garlic powder, 1 tsp onion powder, ½ tsp cayenne, 1 tsp salt
Method — step by step:
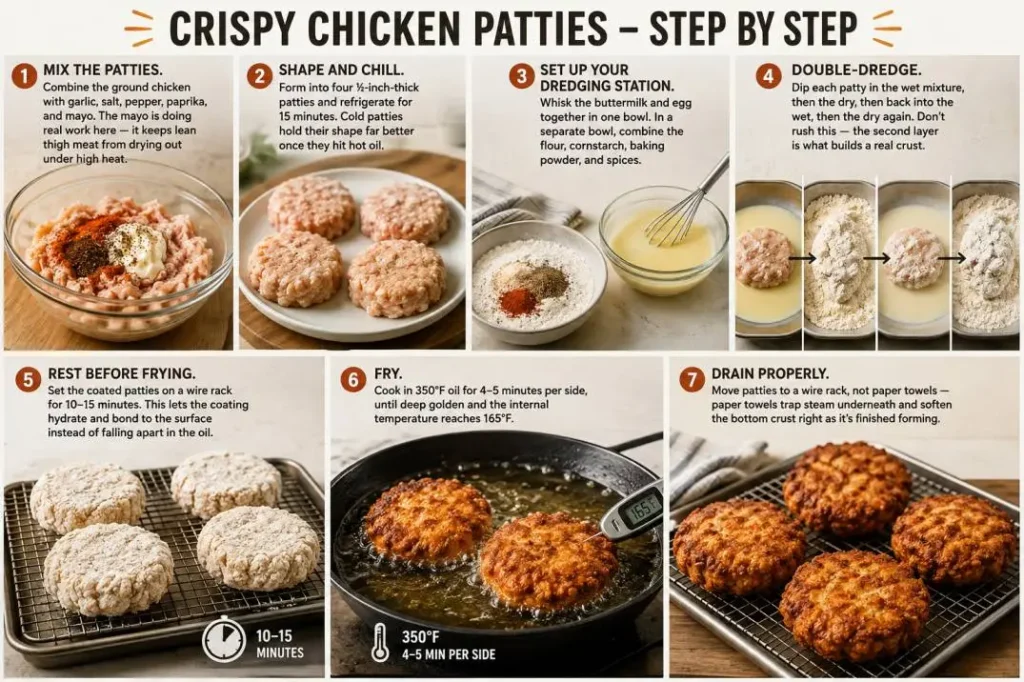
- Mix the patties. Combine the ground chicken with garlic, salt, pepper, paprika, and mayo. The mayo is doing real work here — it keeps lean thigh meat from drying out under high heat.
- Shape and chill. Form into four ½-inch-thick patties and refrigerate for 15 minutes. Cold patties hold their shape far better once they hit hot oil.
- Set up your dredging station. Whisk the buttermilk and egg together in one bowl. In a separate bowl, combine the flour, cornstarch, baking powder, and spices.
- Double-dredge. Dip each patty in the wet mixture, then the dry, then back into the wet, then the dry again. Don’t rush this — the second layer is what builds a real crust.
- Rest before frying. Set the coated patties on a wire rack for 10–15 minutes. This lets the coating hydrate and bond to the surface instead of falling apart in the oil.
- Fry. Cook in 350°F oil for 4–5 minutes per side, until deep golden and the internal temperature reaches 165°F.
- Drain properly. Move patties to a wire rack, not paper towels — paper towels trap steam underneath and soften the bottom crust right as it’s finished forming.
Frequently Asked Questions
What is the trick to getting crispy chicken?
It’s not one trick, it’s a sequence: pull moisture out with a buttermilk brine, build a two-layer starch coating (flour plus cornstarch), let the coated patty rest before it hits the oil, and fry hot enough that the crust sets fast. Skip the rest step and you’ll lose most of the crunch no matter how good your coating is.
What is the best binder for chicken burgers?
Buttermilk. It’s slightly acidic, so it tenderizes the meat, and it’s thick enough to give your dry coating something to actually grip. A plain egg wash works in a pinch, but it’s thinner and the coating tends to slide instead of cling.
How do you make Tyson or other frozen chicken patties crispy?
Skip the microwave. Bake from frozen at 425°F on a wire rack over a sheet pan for about 20 minutes, then finish under the broiler for 2–3 minutes. The rack is the key detail — it lets air circulate underneath so the bottom crisps instead of steaming against the pan.
What does McDonald’s put on their chicken burgers?
Chain coatings typically lean on a blend of paprika, garlic powder, onion powder, celery salt, and a savory flavor enhancer for extra depth. You can get very close at home with smoked paprika, garlic powder, onion powder, a pinch of cayenne, and generous salt seasoned into both the brine and the dry coating — not just sprinkled on at the end.
The Bottom Line
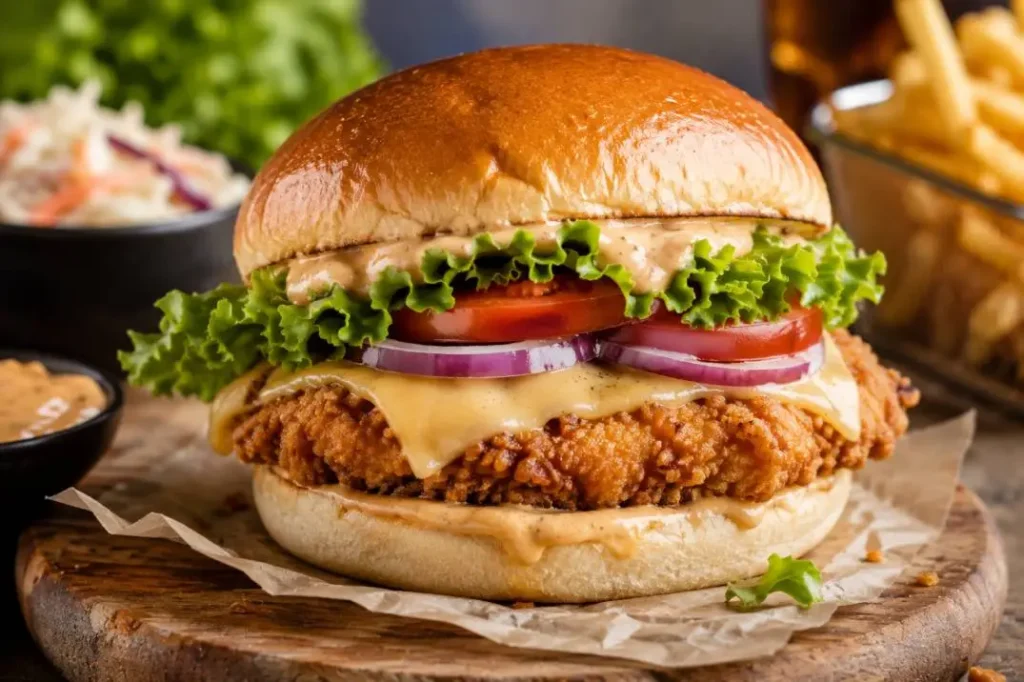
A crispy chicken burger isn’t luck, and it isn’t a secret ingredient buried in some chain restaurant’s supplier contract. It’s moisture control, a two-part coating, a proper rest, and enough heat to lock the crust before the inside overcooks. Get those four things right and it genuinely doesn’t matter whether you started with ground chicken thighs or a bag from the freezer aisle — you’ll get a crust that holds up under a bun, sauce, and everything else you pile on top.
Try the double-dredge technique next time, even if it feels like an extra step you don’t need. It’s the one change that will make the biggest difference on your plate. If you give this recipe a shot, I’d genuinely love to know how your crust turned out — drop a comment and tell me what you piled on top.